
In this writeup I want to share a step by step tutorial on how to build and integrate TensorFlow Lite for Microcontrollers (Tflite Micro) into an STM32CubeIDE project. Although this tutorial uses an STM32 MCU, the process isn’t limited to STM32 microcontrollers. You can use the same process to build for your own target MCUs.
Basically Tflite Micro is a lightweight C++ machine learning library developed and maintained by Google’s TensorFlow team which lets you run a trained neural network model on an MCU (e.g. STM32, ESP32, etc.).
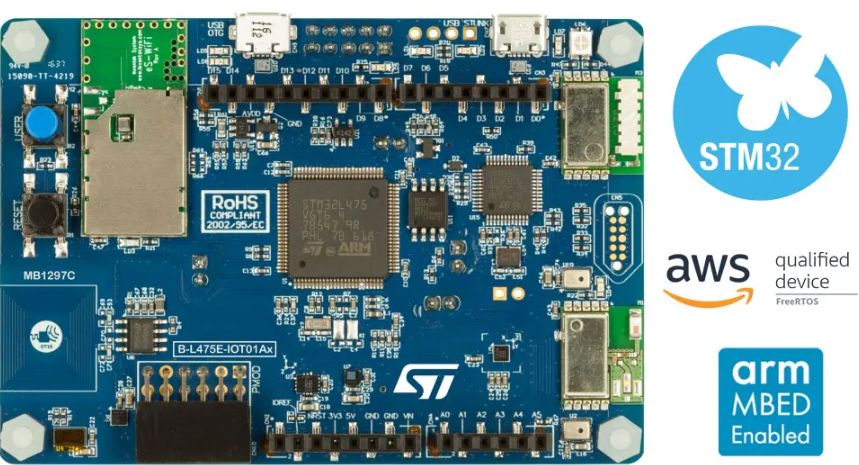
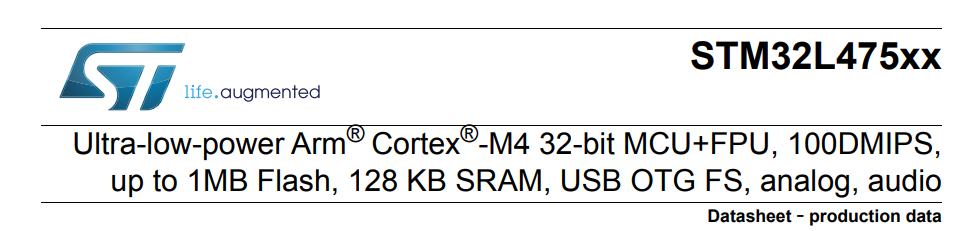
For this tutorial, I am building Tflite Micro for the STM32L475VG Series, which is an Arm Cortex M4 + FPU and I am using the B-L475E-IOT01A Discovery kit from STMicroelectronics .
Development Environment:
For the command line build environment, I used Ubuntu 22.04.5 LTS running under Windows Subsystem for Linux (WSL)

The general workflow used in this tutorial is:
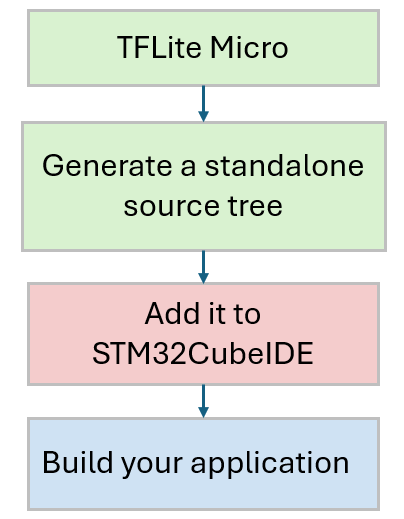
Step#1: Clone the tflite-micro repository to your PC, and run the following command in your terminal :
git clone --depth 1 https://github.com/tensorflow/tflite-micro.gitStep#2: Build TFLite Micro for the target MCU: In our case, it is an Arm Cortex-M4 + FPU
make -f tensorflow/lite/micro/tools/make/Makefile \
    TARGET=cortex_m_generic \
    TARGET_ARCH=cortex-m4+fp \
    FPU=fpv4-sp-d16 \
    OPTIMIZED_KERNEL_DIR=cmsis_nn \
    microlite
Let’s break down the Make variables used in this command.
TARGET: This variable specifies the general platform or target MCU, in this example: Cortex-M, rather than a specific manufacturer part number
To know which variable to use, you can refer to this page : Link . This is what I understand : the filename before _makefile.inc is generally the value we can use for the TARGET variable.

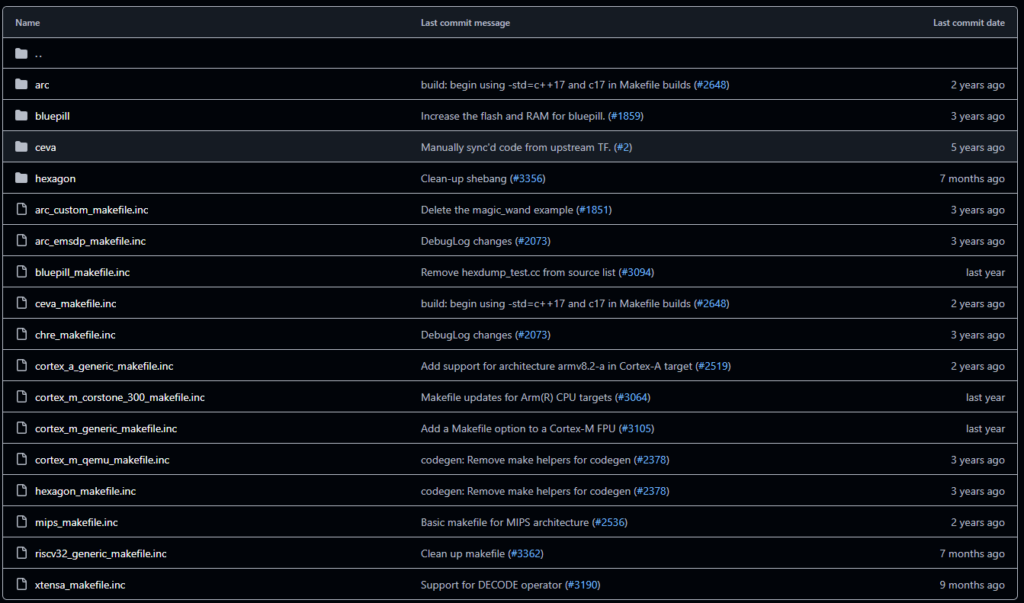
| File Name | TARGET= value |
|---|---|
cortex_m_generic_makefile.inc | TARGET=cortex_m_generic |
cortex_a_generic_makefile.inc | TARGET=cortex_a_generic |
cortex_m_qemu_makefile.inc | TARGET=cortex_m_qemu |
riscv32_generic_makefile.inc | TARGET=riscv32_generic |
mips_makefile.inc | TARGET=mips |
xtensa_makefile.inc | TARGET=xtensa |
bluepill_makefile.inc | TARGET=bluepill |
ceva_makefile.inc | TARGET=ceva |
hexagon_makefile.inc | TARGET=hexagon |
Because the STM32L4 has a hardware floating-point unit (FPU), it makes sense to leverage this feature which can help our neural network run faster, as our neural network model will be converted to an array of floating point values.
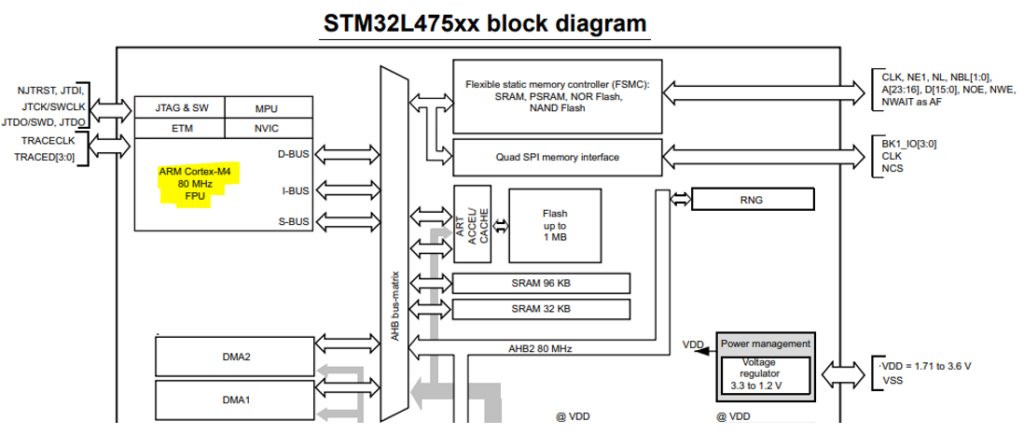
2. TARGET_ARCH and FPU =-mfpu=fpv4-sp-d16 is forcing CPU to use hardware floating-point instructions instead of the multiplication using software routines.
– fpv4 → ARM FPv4 architecture
– sp → single precision (float)
– d16 → 16 floating-point registers
3. OPTIMIZED_KERNEL_DIR=cmsis_nn is used to enable the optimized CMSIS-NN kernels for neural-network operations during the building process and basically it answers the question: How should a float calculation be performed?
** Note: Keep in mind that the following settings need to be configured in STM32CubeIDE as shown below to uses the hardware FPU:
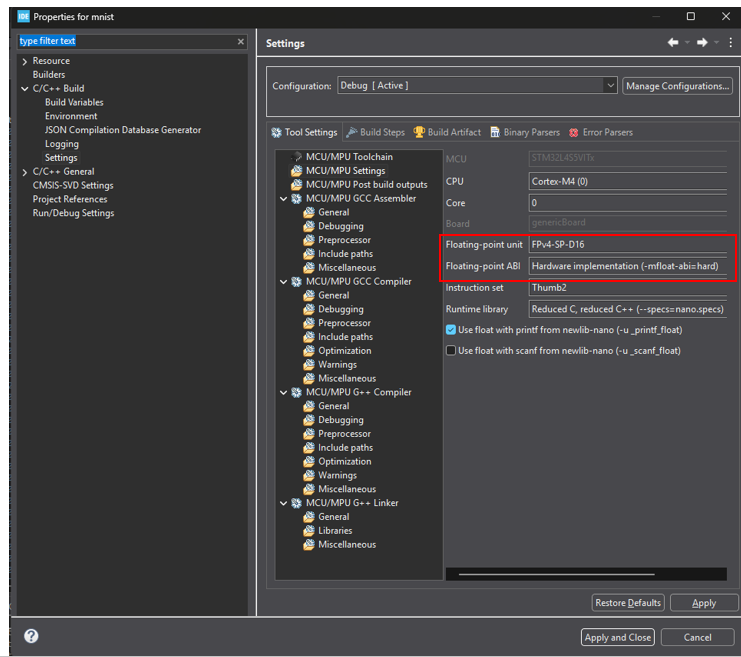
The screenshot below is showing the build process on command line:

After the build finishes, you can use the ls command to verify the generated files and directories and you should see the generated build structure similar to the following :

Step#3: Generate a standalone library source tree from the TFLite Micro source
Basically, this step is compressing the necessary files into a small portable library for Cortex M4 MCUs. After this step, the library will be ready to be used.
Run this command:
python3 \
  tensorflow/lite/micro/tools/project_generation/create_tflm_tree.py \
  ../lib/tflm_tree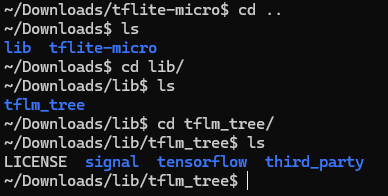
Step#4: Add TFLite Micro to STM32CubeIDE
After generating the tflm_tree, you can add the generated source tree to your STM32CubeIDE project.
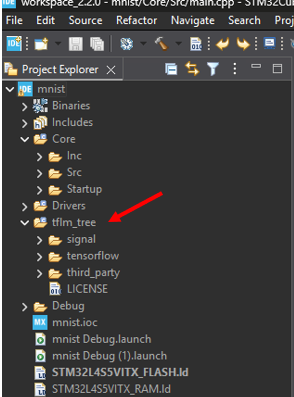
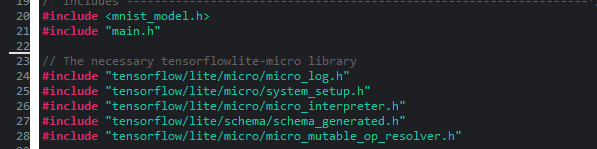
You also need to include the necessary header files to your project. Here are the list of headers that need to be added to run a model inference :
Here is the build process video :